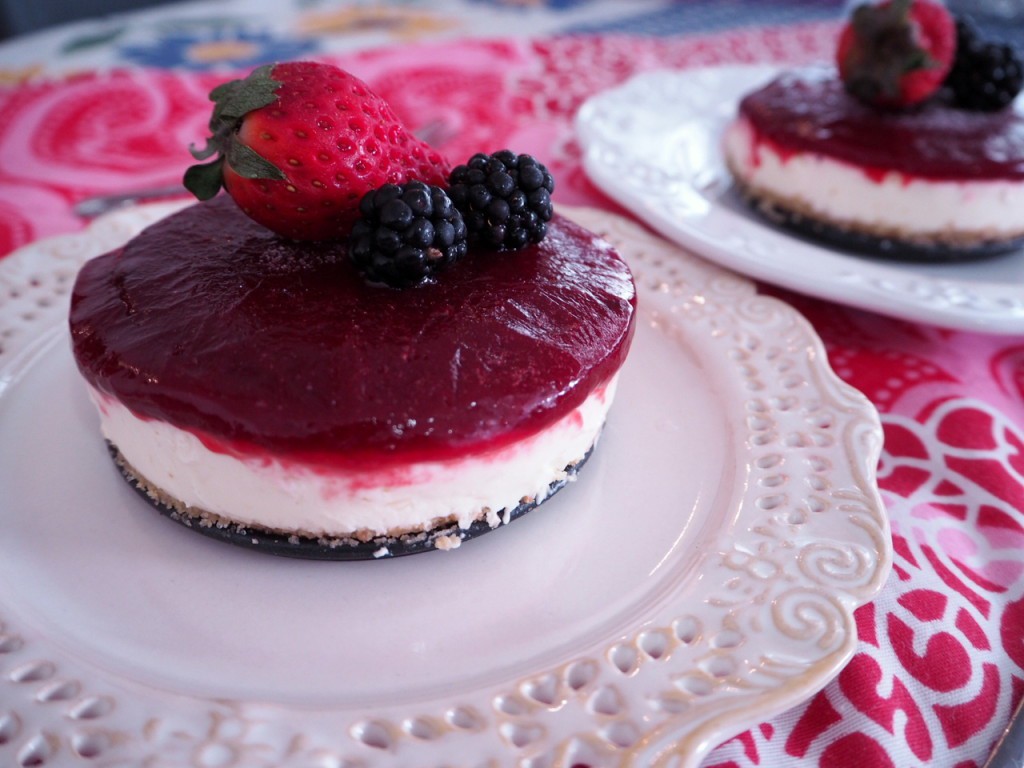
 I just confessed a few posts ago how bad of a baker/ dessert maker I am. But since recent, much to my honey’s dismay, I’ve not only developed a sweet tooth but also a love to explore making desserts and cakes. Making desserts at home isn’t an easy task as my health-conscious better half doesn’t always approve recipes that calls for exorbitant amounts of sugar and fats. But now, thanks to my blog, I find reasons and excuses to lure him into letting me indulge in occasional treats. Heh.
As much as I simply love cheese, until a year or two, I really disliked Cheesecake. I just couldn’t wrap my head around the concept of mixing cheese with sugar and topping it with sweet & tangy things. I can’t exactly recall when I started liking it, but just like how I started liking salmon, almonds and honey, I’ve started to actually enjoy cheesecakes, albeit just the non baked variety. It helps that they can be customised with so many different toppings and made to look really pretty with minimal effort.
I’ve already mentioned all along how bad and rebellious I am at following strict recipes with exact measurements, temperatures and timings, which is precisely also the reason why I was vary of experimenting with desserts as it takes out the joy of been whimsical in the kitchen.
Prior to making my very first cheesecake, I did alot of googling and scrolled through many pins to figure out a recipe but at the eleventh hour settled to adapt the recipe which was printed at the back of the block of philadelphia cream cheese as I had at hand all the ingredients it listed. I was really nervous about the cream cheese filling but had most fun making the toppings with some of my favourite tangy fruits.  Cast of Characters
For the Base:
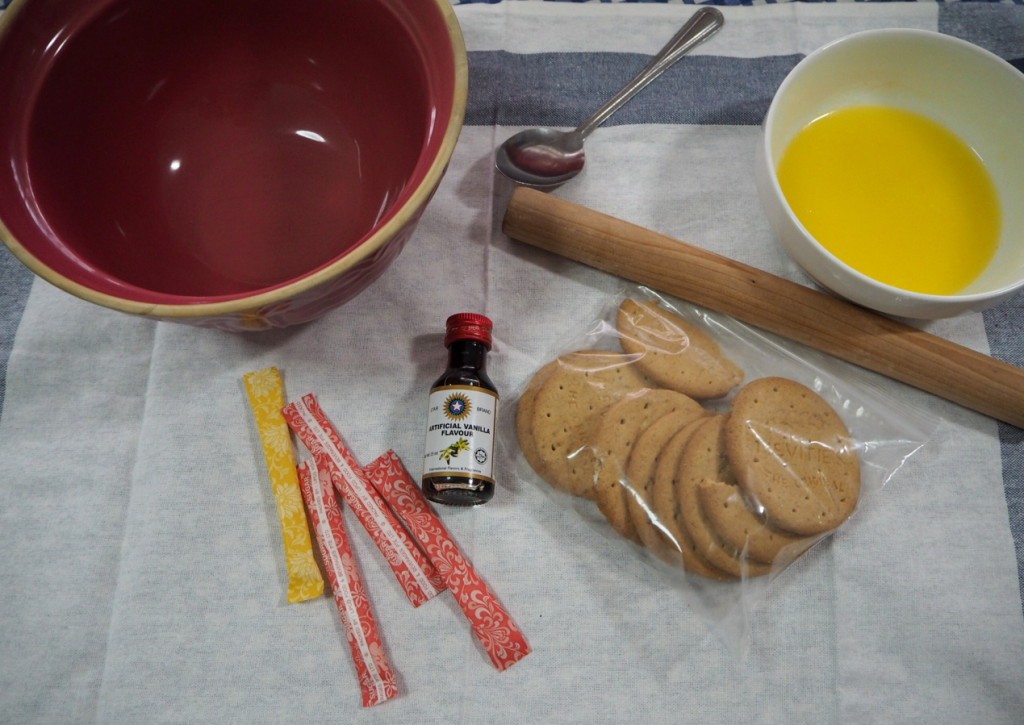
- 8 Digestive biscuits
- 40g of butter
- 30g of sugar (brown sugar would be perfect but I used the usual sugar I had at hand)
- 400g Philadelphia Cream Cheese (Room temperature)
- 1 cup Icing Sugar (Though the recipe called for granulated sugar, I opted for icing sugar as I don’t have an electric beater and figured that icing sugar would mix in better than granulated)
- 100ml heavy cream
- Vanilla Essence
- Juice of one small Lemon
- 1 leaf of Gelatine
- Ice water
For the Berry Coulis:
- 1 cup of berries (I used Strawberries and Blackberries)
- 3 tablespoons of Sugar
- 1/2 cup of water
- 1/2 a leaf of Gelatine & cold water
For the passion fruit Coulis:
- 5 Passion fruits
- 3 tablespoons of Sugar
- 1/4 cup of water
- 1/2 a leaf of Gelatine & cold water
Method
The Base:
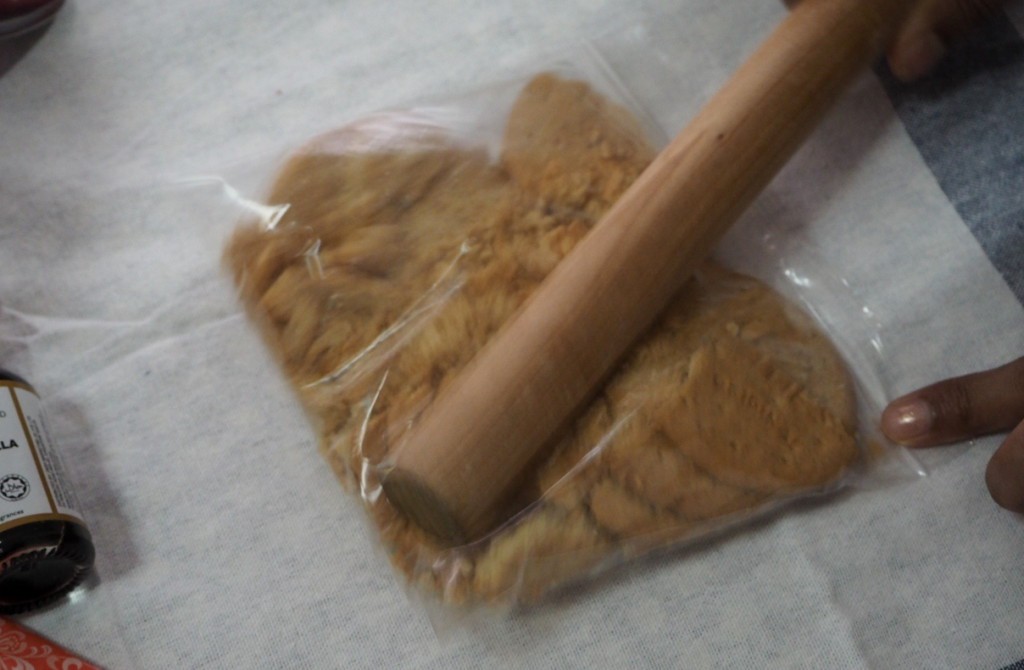
- Put about 8 Digestive biscuits inside a ziplock bag and smash it with the help of a rolling pin until they become fine crumbs resembling sand. Pour the mixture into a large bowl.
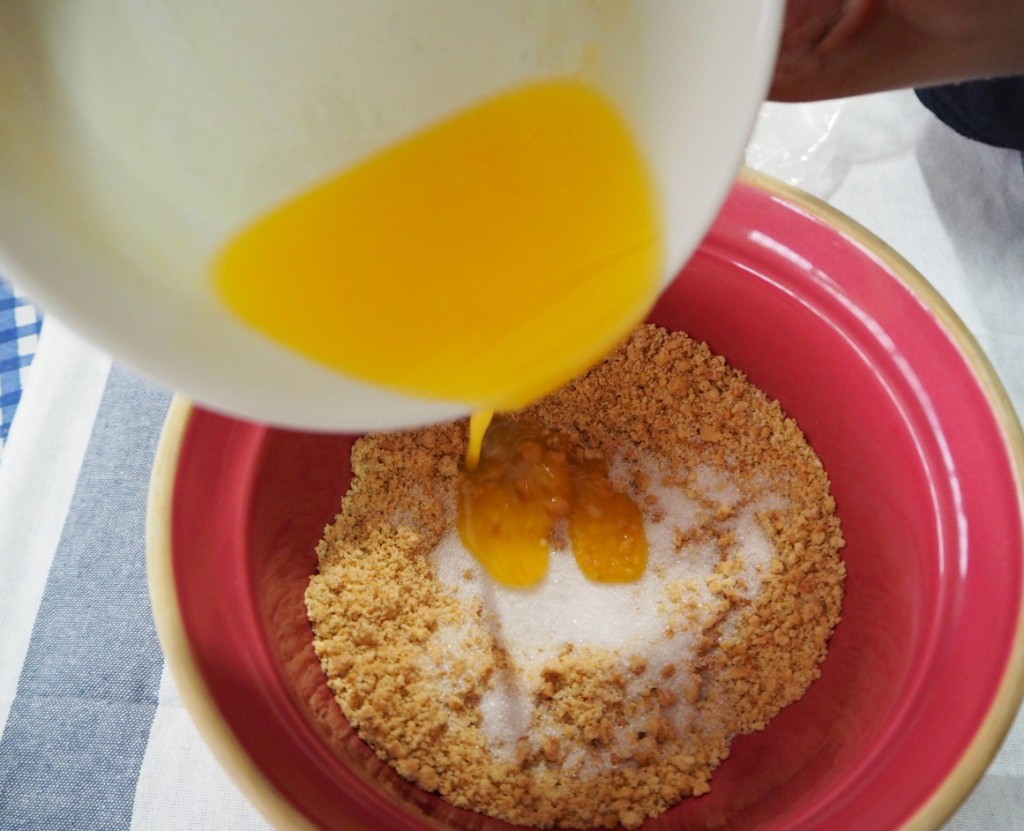
- Melt the butter in the microwave for about a minute and mix it into the biscuit mix with a drop of vanilla and the sugar and combine well. It should be slightly wet – almost like wet sand.
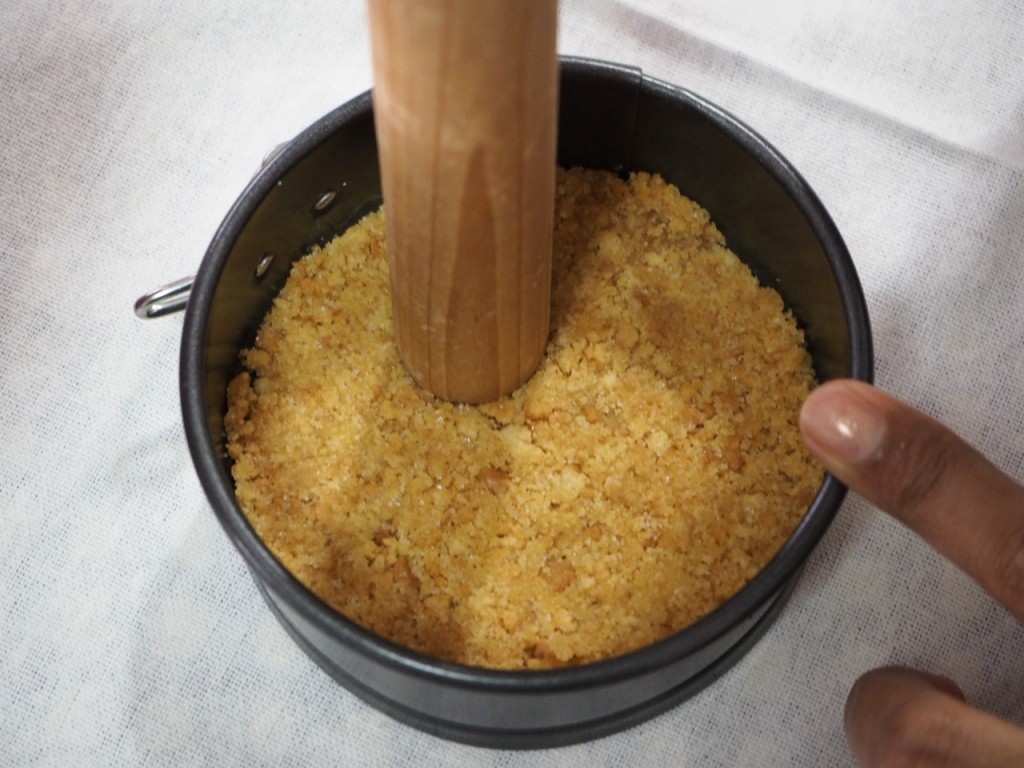
- Layer this biscuit mixture into containers you wish to make the cheesecakes in. I used 2 x 10cm springfoam tins and one glass jar. You could use one big tin or a few mini ones.
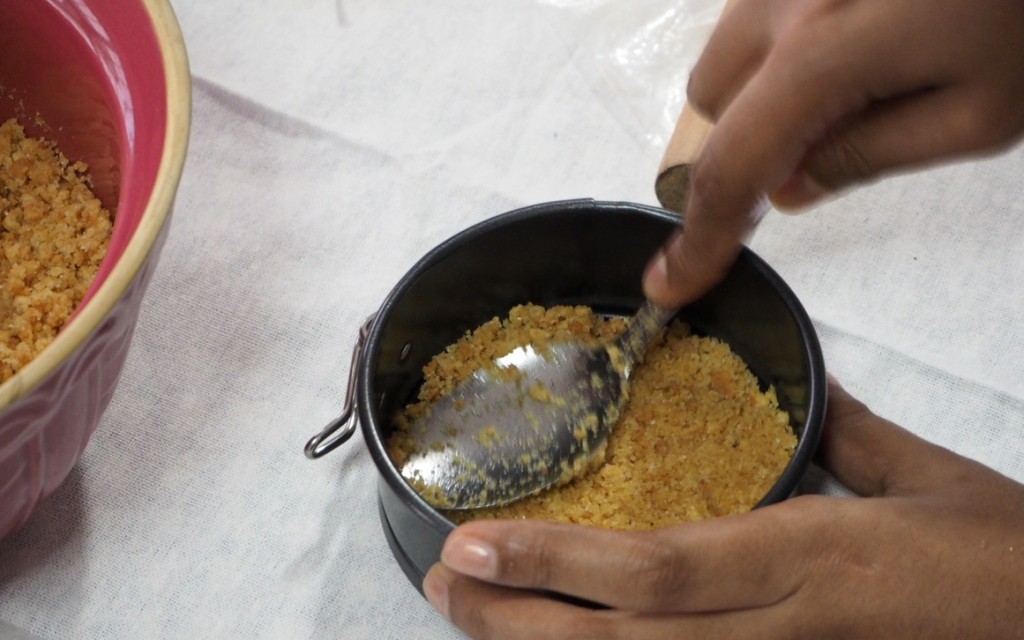
- Press the mixture onto the tins so that they pack tightly to form the base of the cake. I used the tip of my mini rolling pin to press it down.
- As for the glass jars, I didn’t bother packing it that tightly as I planned to enjoy it straight out of the jar.
- Place the tins and the jars into the freezer to set while you get on with the rest of the steps.
Coulis:
I love passionfruit, but my better half is not a big fan of it. So I decided to experiment with two different types of coulis to use as the topping for my cheesecakes. But if you are pressed for time, you could always use a cherry or blueberry pie filling straight out of a can.
Berry Coulis:
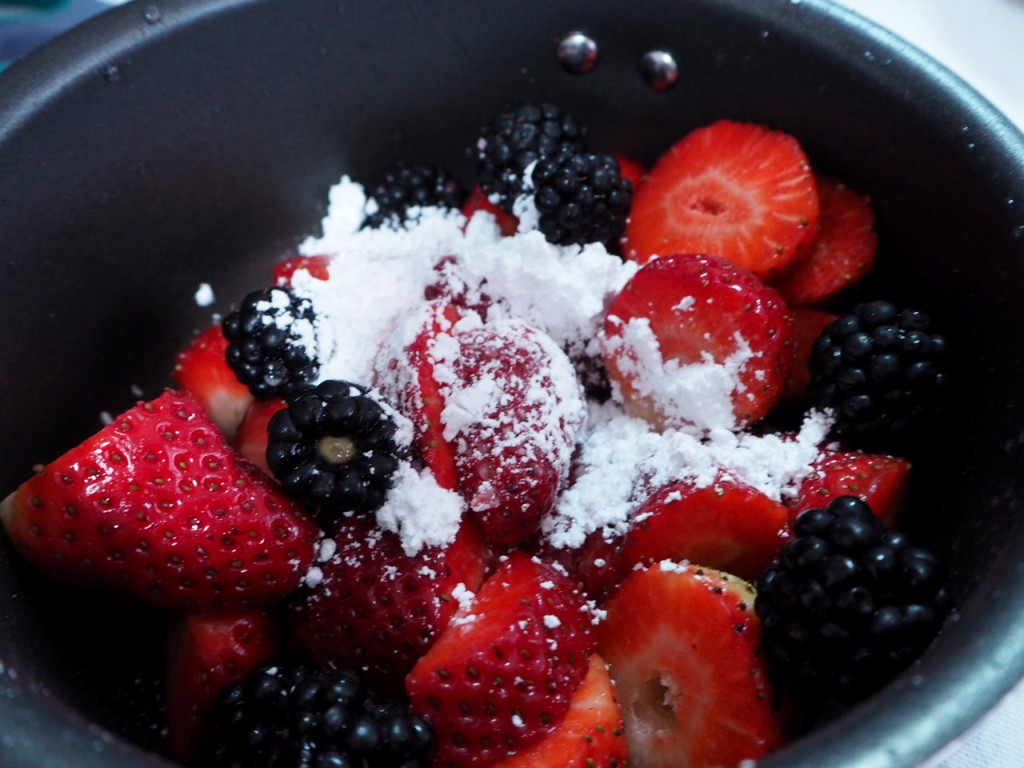
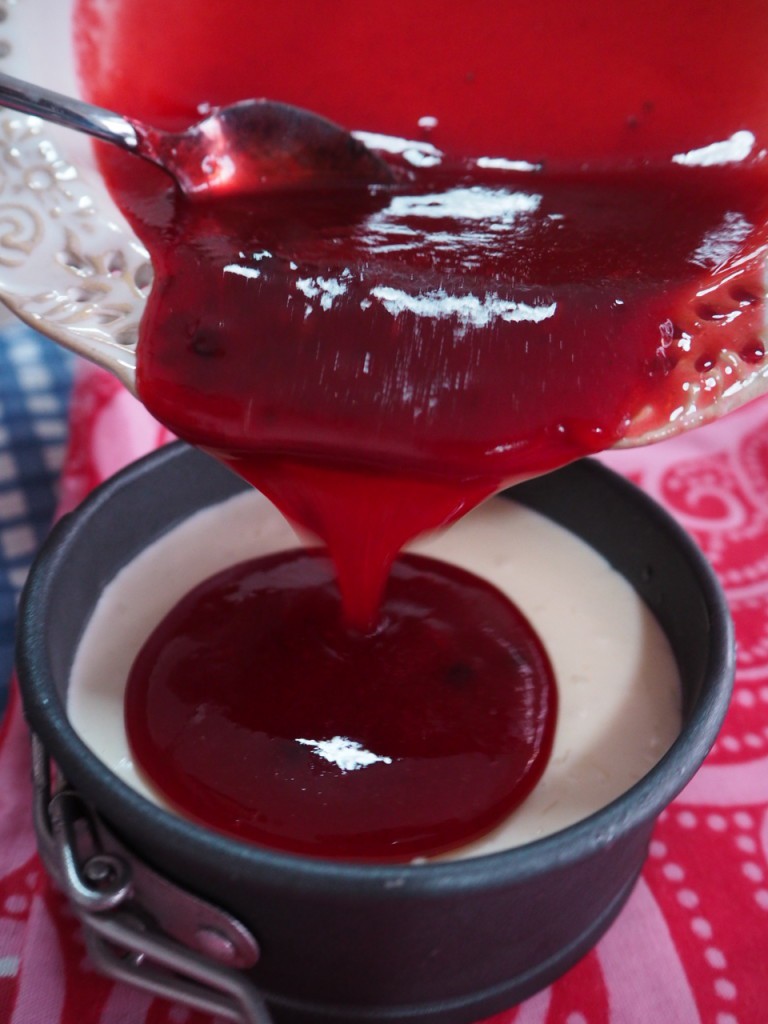
- Simply chop up the strawberries and Blackberries, mix it with icing sugar and water and let it slow cook in a low heat till the berries have cooked down for about 15-20 mins, stirring occasionally. I would have most likely used normal sugar but since I bought a pack of icing sugar, I just used the same.
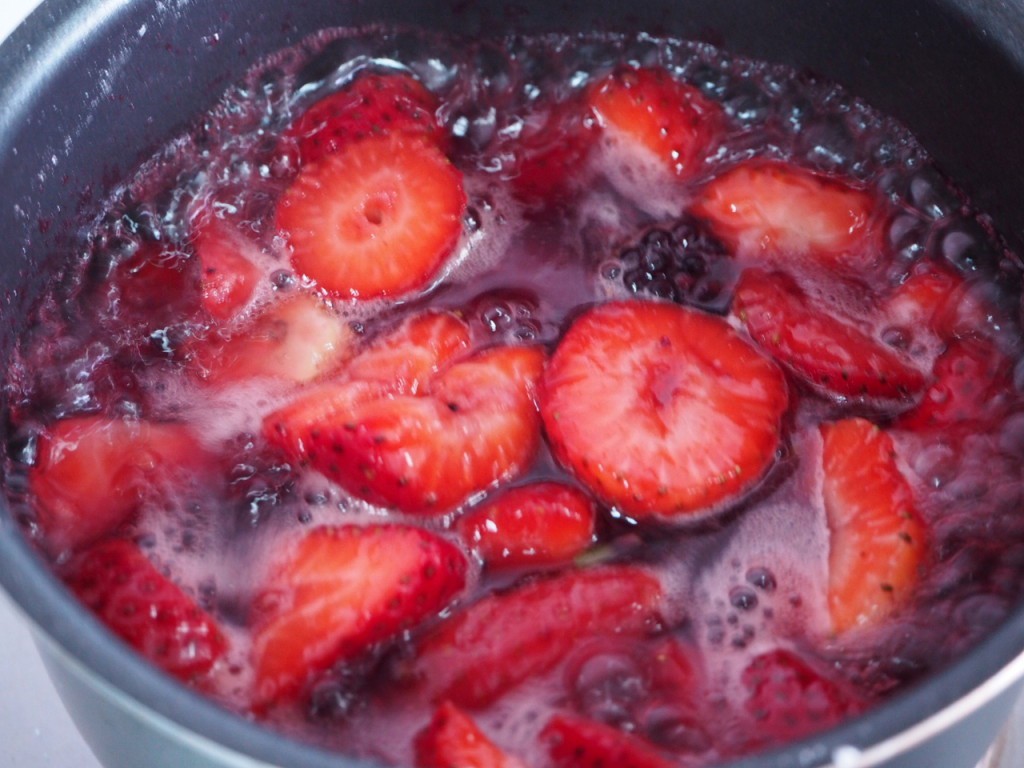 You could even use honey to make it a tad bit healthier. Once the fruits have cooked down really well, strain it through a strainer to get rid of the pulp so you’ll have a clear red syrup.
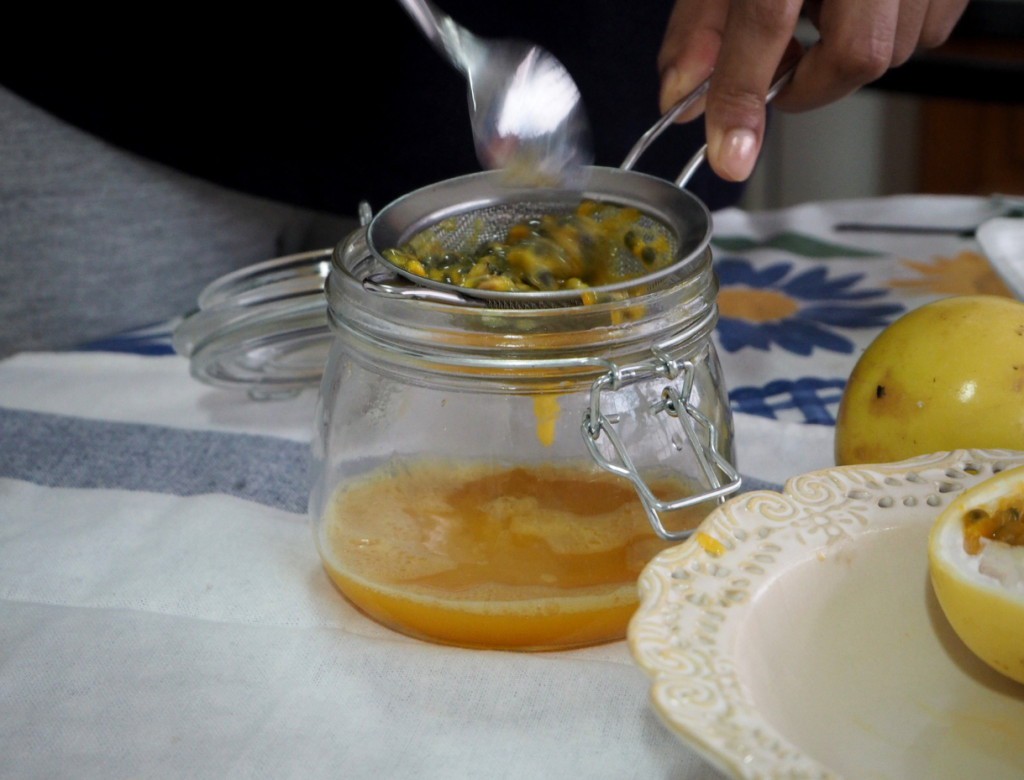
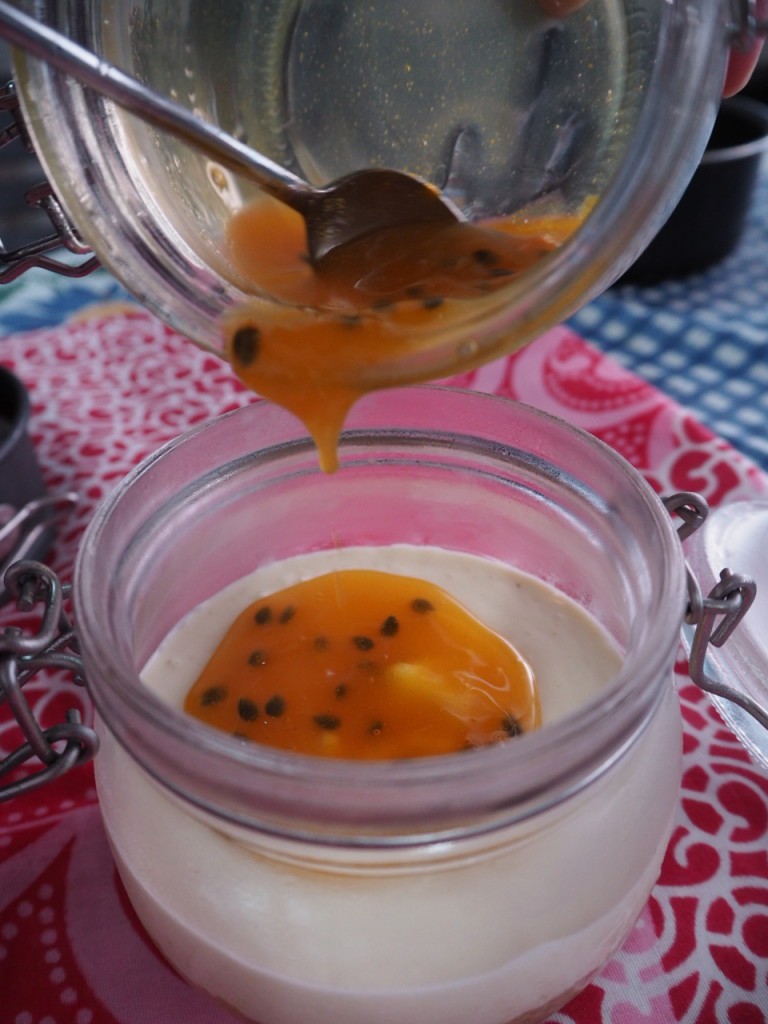
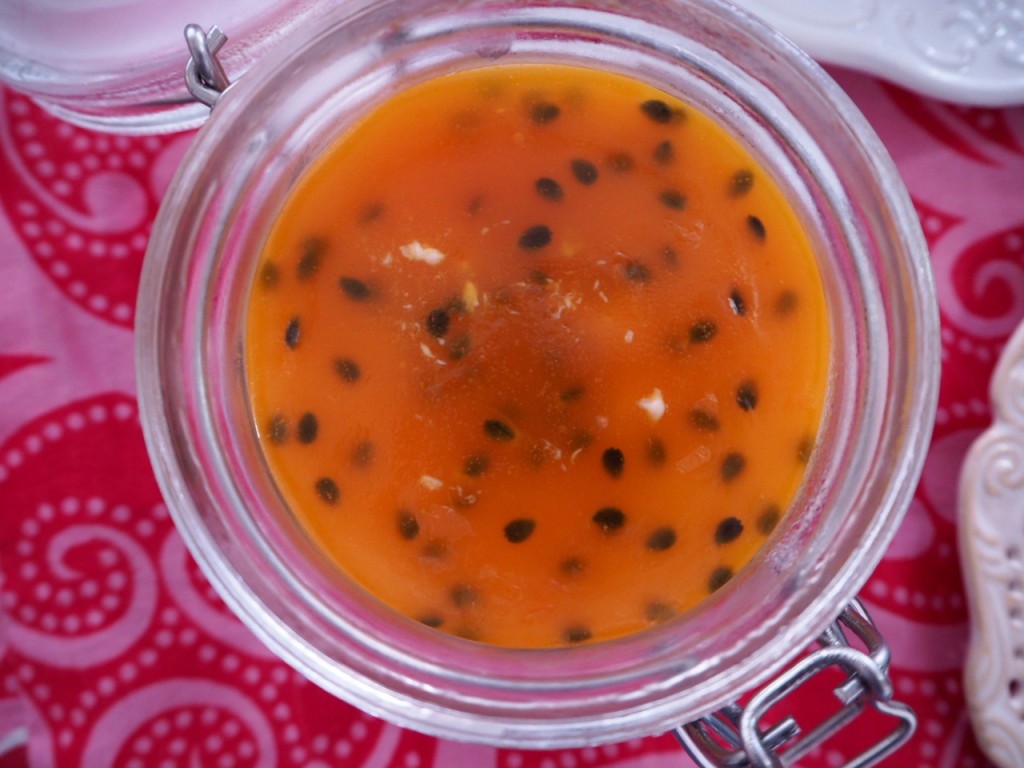
- For the passionfruit version, simply strain some of the passionfruit pulp through a strainer to get rid of excess seeds and mix it with sugar and water and cook it down in a low heat as well.
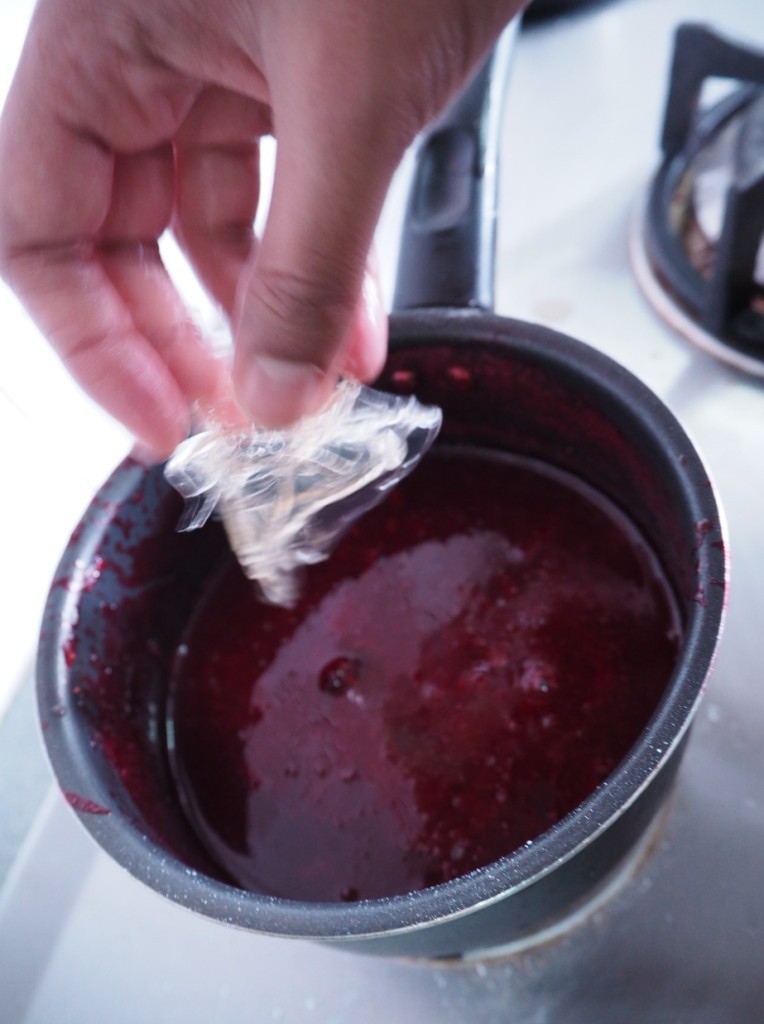
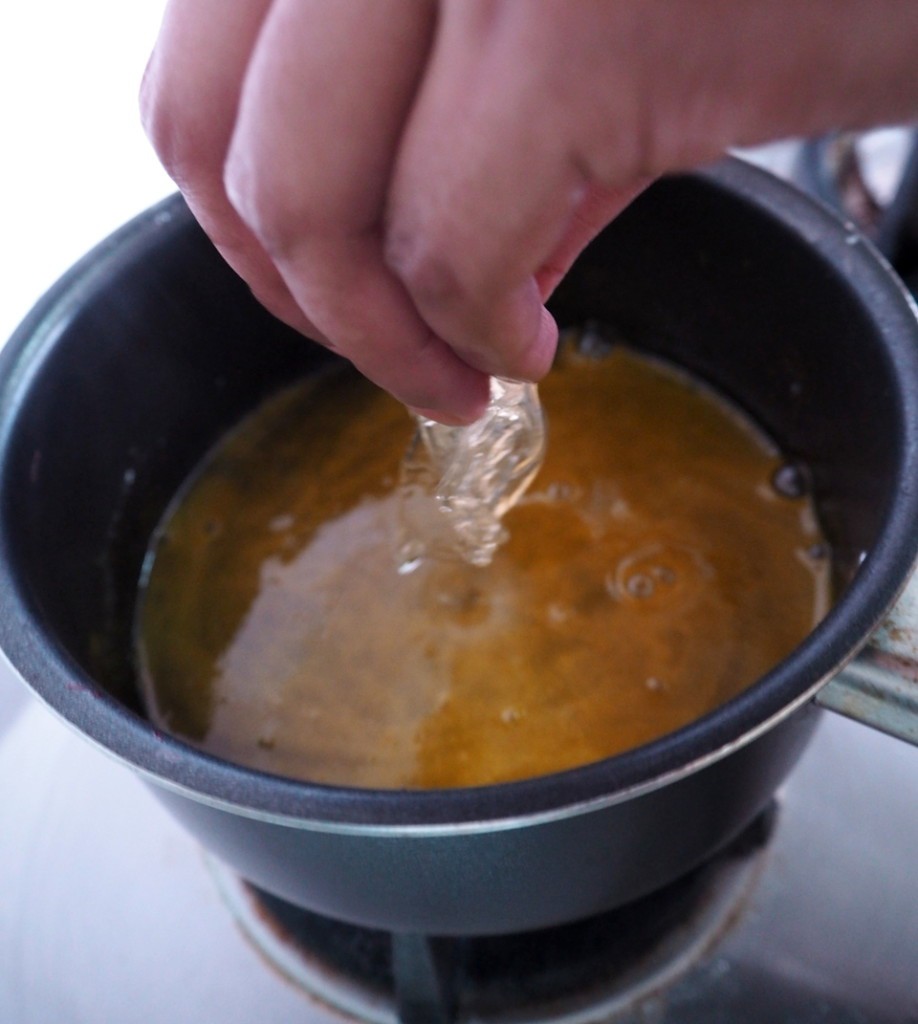
- Soak half a sheet of gelatine in cold water for 5 mins and then discard the excess water and add it to the respective fruit Coulis and stir well. You will need one sheet of gelatine in total for the two Coulis.
Cheesecake Filling:
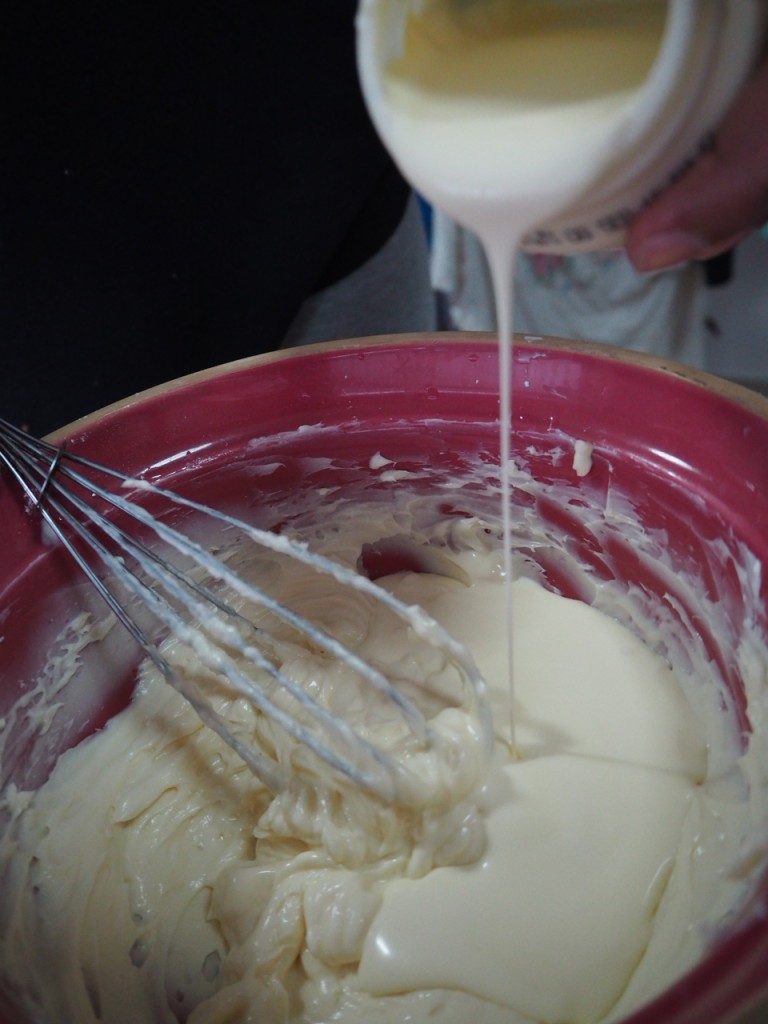
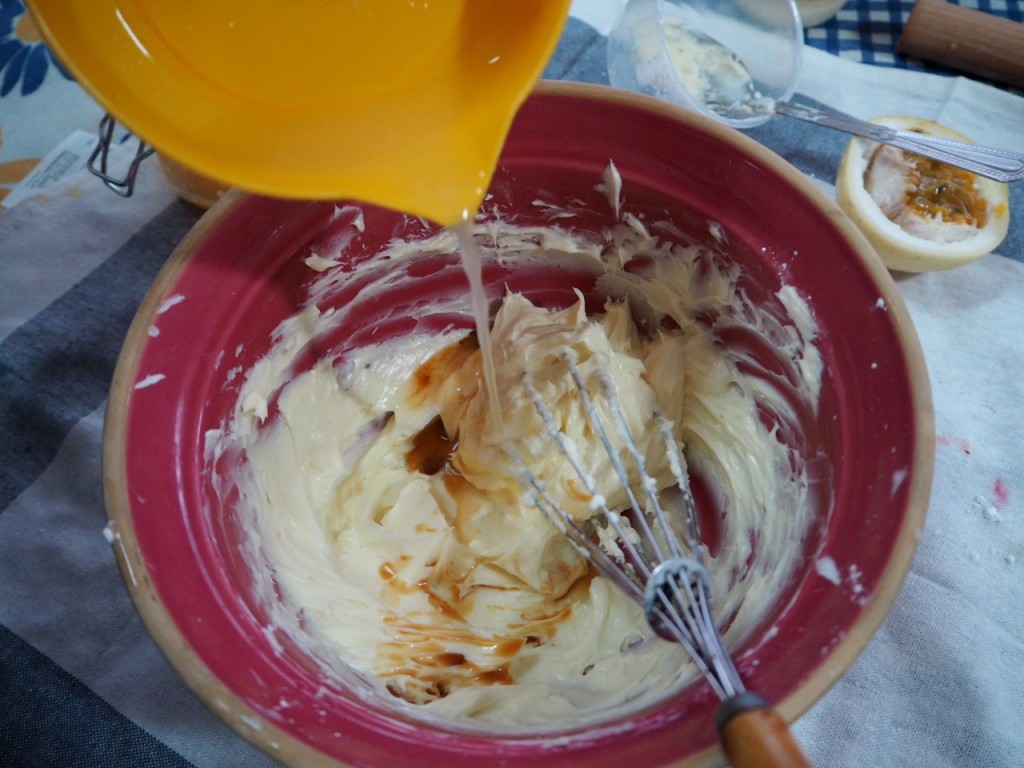
- Whisk the cream cheese and the icing sugar in a large bowl until well combined. Mix in the cream and continue to whisk.
- Then add in a drop of vanilla essence and the juice of one small lemon and stir well.
- Lastly soak one more leaf of gelatine in cold water, discard the excess water and add it to the cream cheese mixture once the gelatine comes down to the room temperature. Mix well. It is important to let the gelatine come back to room temperature before adding into the cream cheese mixture as it might curdle if added when cold.
- Lastly, retrieve the tins/ jars from the freezer, layer the biscuit layer with a layer of cream cheese mixture and top it off with either the berry or passion fruit coulis.
- Next, cover the tins with foil and place them either in the freezer or the fridge. I think by right most recipes calls the cheesecake to be chilled in the fridge but I accidentally misunderstood and popped the two tins in the freezer and the jar in the fridge. When serving, I let the ones in the freezer to thaw in the fridge for about an hour before removing them from the moulds.
- Though storing them in the freezer was probably an accident on my end, both my better half and homie/friend commented that tasted better. But that’s perhaps because they both prefer berries over passion-fruit.
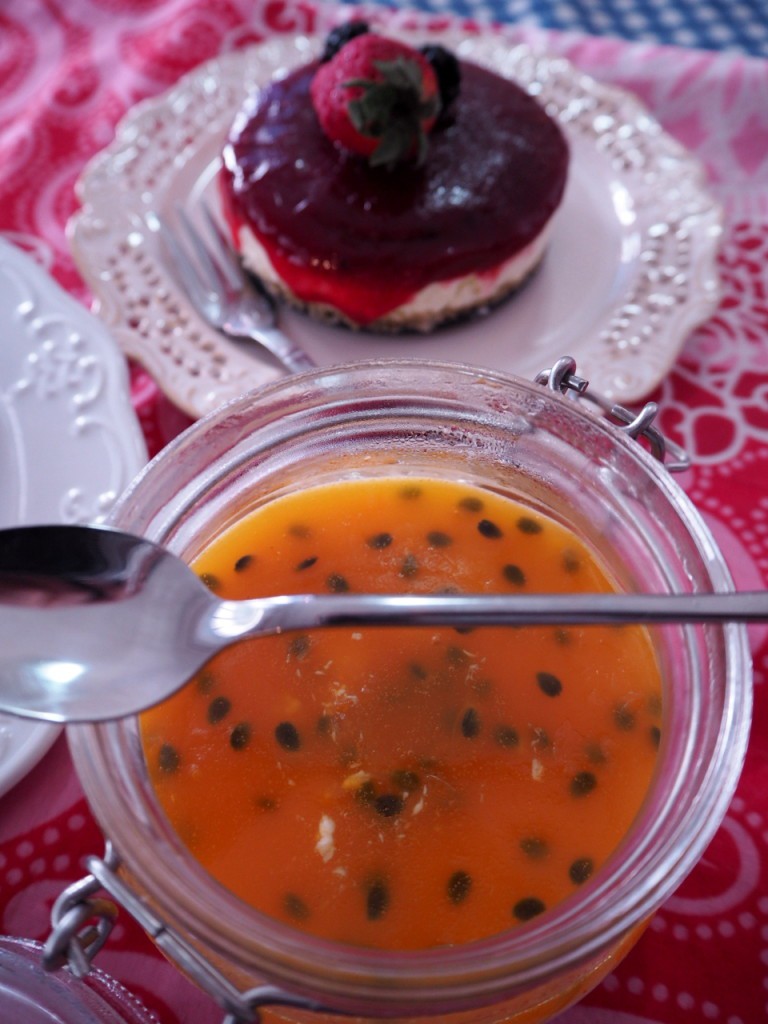
- So you could either put them in the freezer or the fridge. The passion fruit coulis which I popped in the fridge was more jelly like and looked prettier but the berry one was more icy and looked a bit crystallised.
- If there’s anything I would change about the process, I would probably line the springfoam tin with baking paper to remove the bottom of the tin more easily as I had trouble removing the cheesecake (which is why you can still see the bottom layer in the pictures :D). So don’t be like me, please line the bottom when you make this.
This was my first ever cheesecake, so if you have ideas for improvement, please do let me know. I still have a block of cream cheese and ideas for more experiments in the near future.




WHAT A WEEKEND TREAT, THIS IS..MY CHEESY SUZZY.
YOU ARE A CHEESE LOVER ALRIGHT, FROM KIDDY DAYS!!
MEMORIES…
Hi Thanks Su for the lovely recipe. Am just going to try it out this weekend. So you know here strawberries are a luxury still i can find some in the super market. would you please suggest any other alternative please? Thanks !
Hey vindya! Sorry for the late reply. You could use passionfruit or maybe even mango? 🙂
Let me know how it turns out!
Hi…this looks so yumm..I’m hopeless at desserts…but thought that must try making it..I have a quick question when you say 1 leaf gelatine how many grams would that be.
Hey! I just checked the package but unfortunately it doesn’t state the weight. I’m guessing it’s standard?Alternatively for one block of cream cheese you could use 1.5 tsp of gelatine.